
3 Tips For Weaving Straight Selvedges

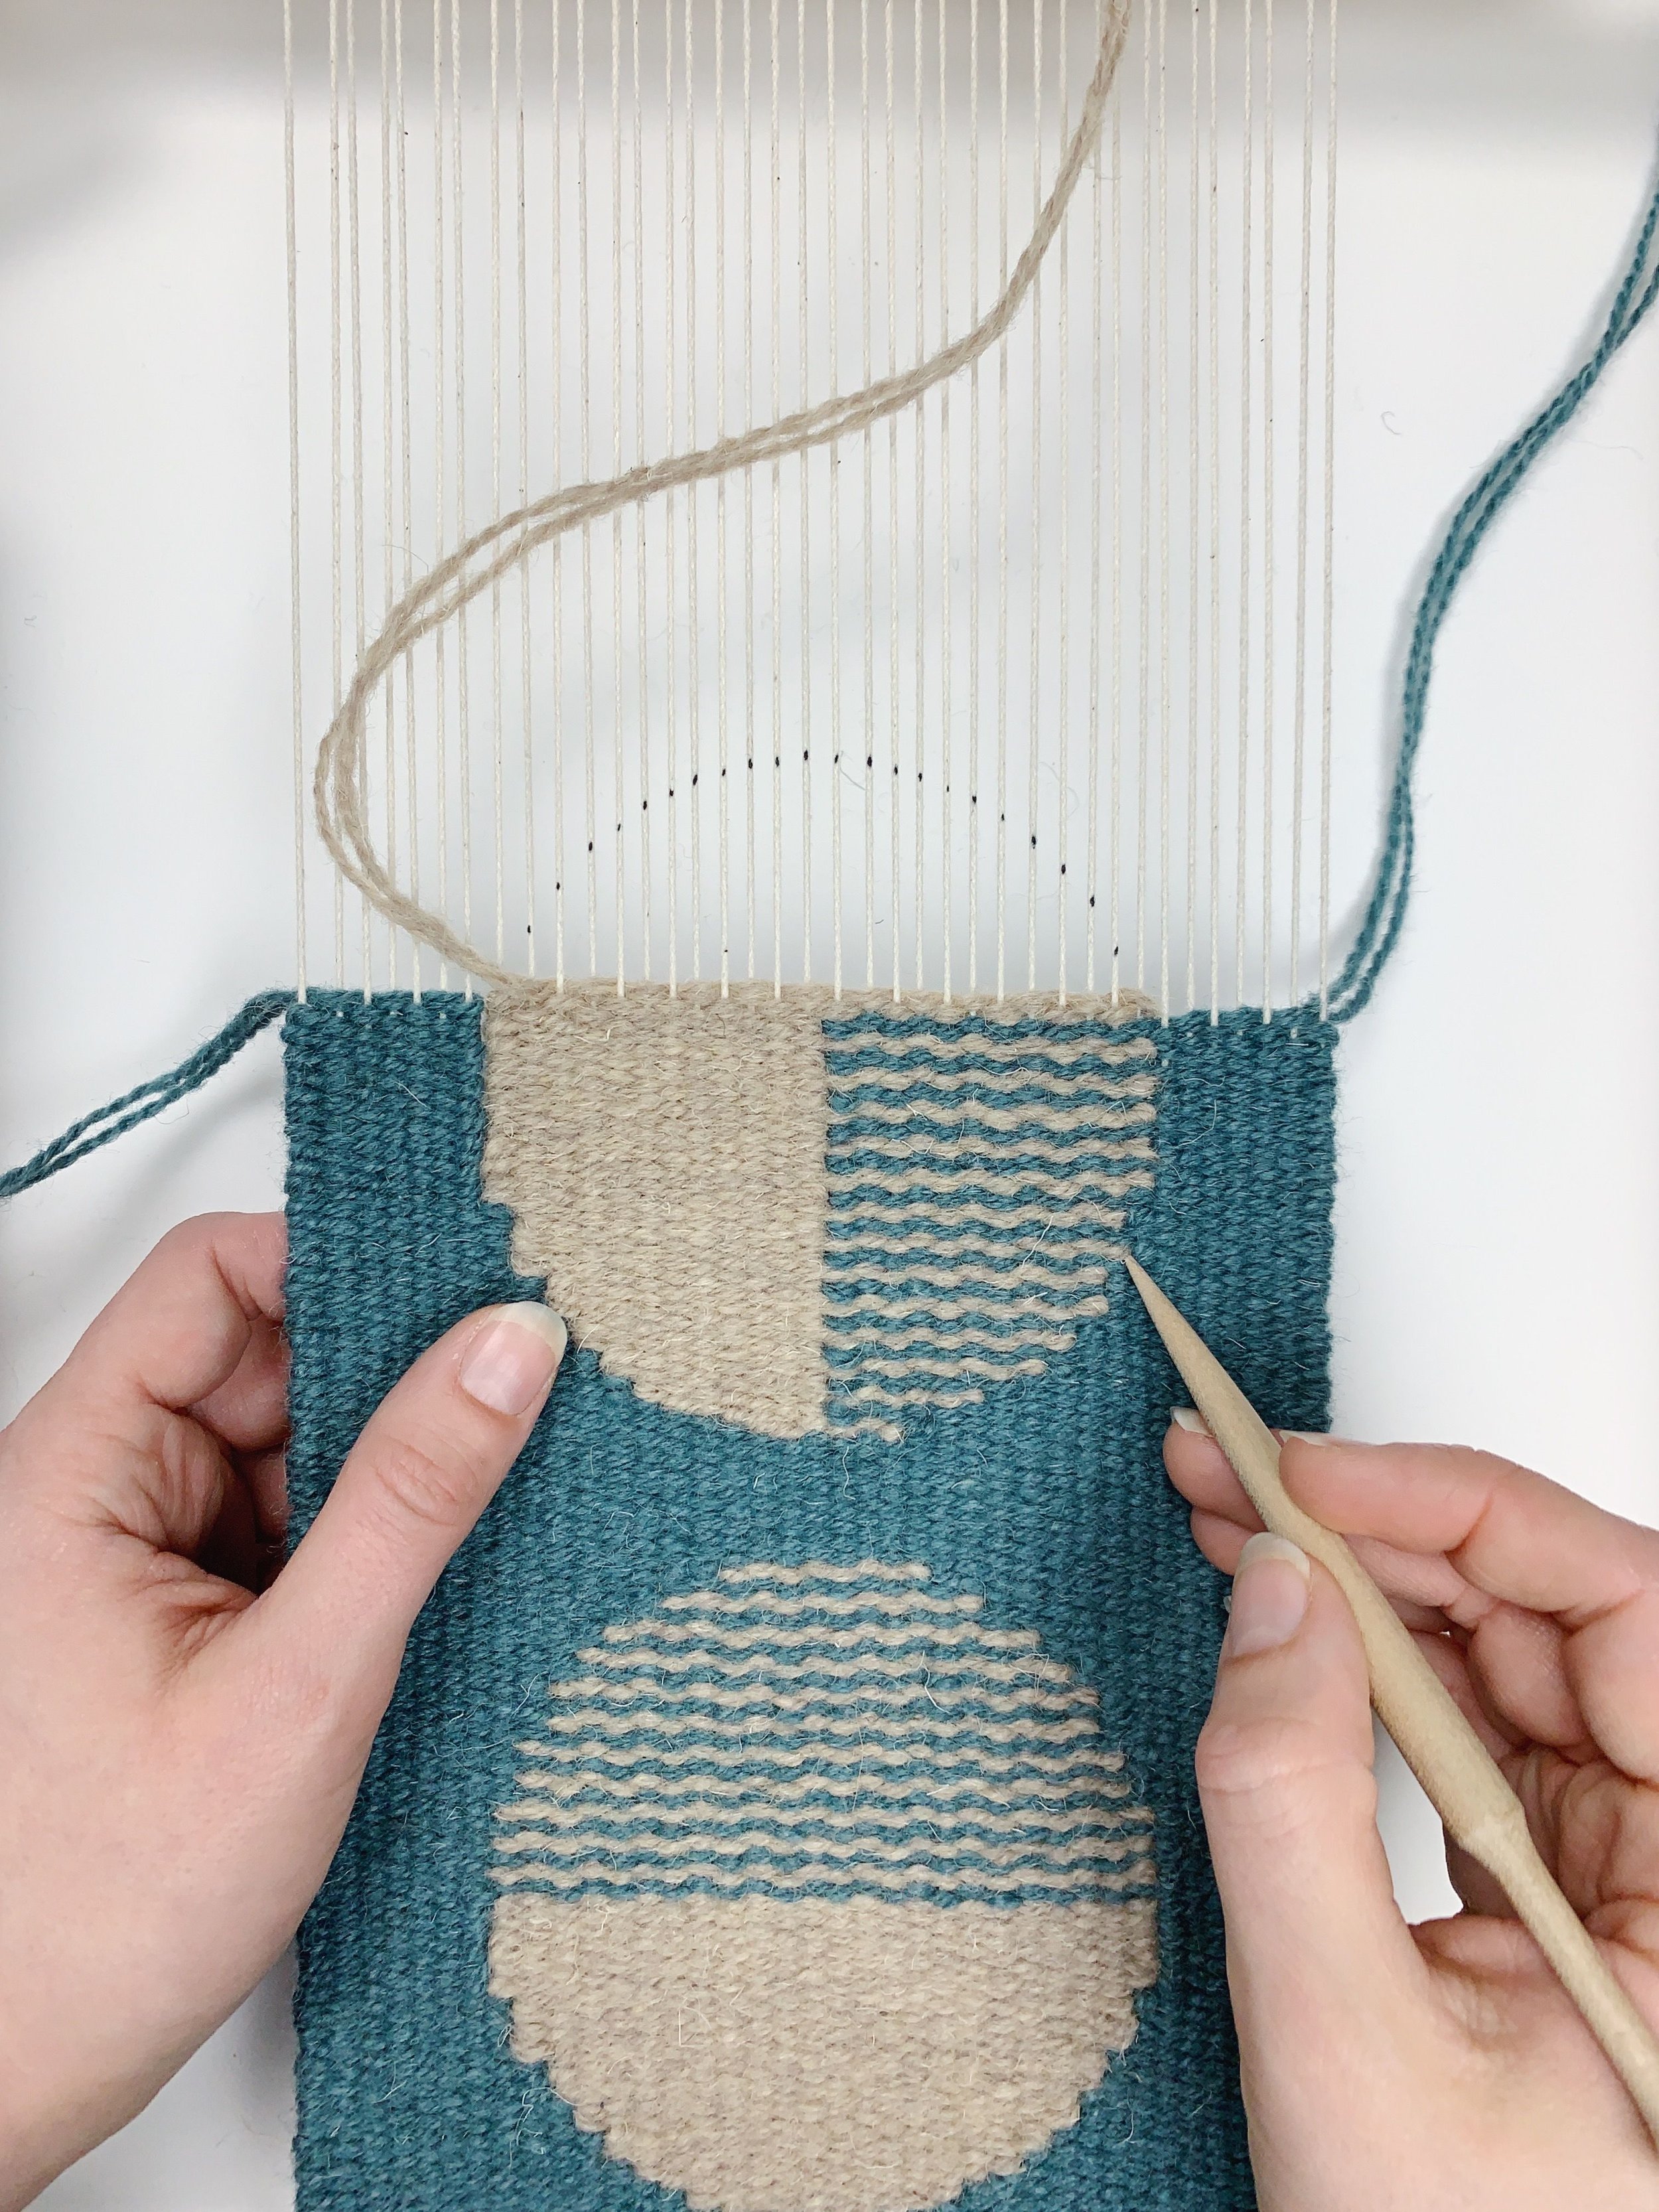
A blocks sample from my Geometric Weaving online course
After the chaos of our recent studio move, things have finally started to settle down and I have more time for blogging! This post is the first in a series on the weaving tips & techniques that you can use to improve your weaving skills.
If you'd like to make sure you never miss a post from us- you can sign up to our brand new Blog Mailing List and get our new blog posts delivered directly to your inbox.
This week we're looking at selvedges. Selvedges are one of the trickiest parts of weaving for beginners and it's one of the most common question I get in my instagram DMs! If you've ever started a tapestry and found that half way up it's started to curve in or bulge out at the sides- this one is for you. Here I'm sharing my top three tips for keeping your selvedges straight and neat, along with an in-depth explainer of what's actually going on with your selvedge issues.

What Is The Selvedge?
The selvedge is the name for the sides of the weaving, where the weft wraps around the last warp on the loom and turns back the other way.
The selvedges are the part of your weaving that is under the most strain. The warp may feel strong and sturdy when you first wind it on to the loom, but the strongest element of your weaving is actually the weft. If you are not careful, over time the rows and rows of weft built up on the loom will pull in or push out the warps at the side and your weaving will end up looking somewhat different to how you imagined.
But never fear, because there are things you can do to manage the weft at your selvedges and make sure it stays straight.

1. Position The Selvedge First
One of the biggests mistakes I see beginner weavers making when they weave is pulling the weft tight against the selvedge warp. Like I said, the warp is not as strong and sturdy as it looks! And you cannot use it as a hard border for the edge of your weaving- you must wrap around it carefully.
My number one tip for selvedges is to position the weft around the selvedge first and press it down in place before you continue.
On my loom, I feed my weft through from hand to hand (I never pull it against the selvedge). Then I use my finger and thumb to lock the weft securely and snugly around the selvedge. This makes sure that it's not too tight (pulling in against the warp) but also that it's not too loose (bulging outwards).
Locking the selvedge in place first means I can press down the weft in the rest of my warp without worrying about the selvedge dragging in. It also helps me loop neatly around the selvedge every time.

2. Watch Carefully & Stack Neatly
My second tip is to practice watching your selvedge as you weave.
As you wrap around the selvedge, imagine that you are stacking each loop of weft on top of each other in a vertical column.
I am always looking at my selvedge to check that each loop is lining up with the loop below it, and I regularly step back to see that I'm keeping this line straight.
I know some weavers like to use a ruler to measure the width of the weaving and the distance between the loom frame, so they can see if the weaving is getting wider or narrower. Other weavers like to have guide warps - single warps strung on either side of the loom which create a straight line to check their selvedge against.
All of these techniques help you get into the habit of checking your weaving as you go. It's so easy to get lost in the soothing flow of passing the shuttle back and forth, and then later realise that the small mistakes at the beginning of your weaving have snowballed.
So get used to checking your weaving and take a step back every now and again to check its progress.

3. Use A Thicker Selvedge Warp
Finally, if you're really struggling with keeping your selvedges straight, you may want to think about doubling up the warp at either side of your loom to create a stronger selvedge.
On my looms, I do this by winding on 2 or 3 extra strands of warp and grouping them together while weaving.
This makes the selvedge itself slightly bulkier, but it creates a clean border for the tapestry and it's much easier to keep straight.
Weaving, like any craft, takes practice. It's not something any of us will get right the first time around! But I hope this blog post gives you some more ideas for what you can try to solve selvedge issues on your loom.
There are of course other factors that affect your selvedge, and I discuss these in detail in my geometric weaving and rug weaving online courses. I also host regular weaving workshops in my studio here in London, where I walk my students through the fundamentals. You can find out more about these workshops here.
Last of all, if I have one final thought on selvedges, it's this- pay attention, but don't overdo it. Of course it's important to keep an eye on the small details and catch the little mistakes before they build up. But that doesn't mean becoming overly perfectionistic, and going over every weaving with a magnifying glass, checking for errors! When you are making things by hand there is always going to be variation. No selvedge is ever going to be perfectly straight.
In my own weaving, I try to focus less on perfection and more on practice. Each tapestry is an opportunity to hone my skills further, and if I make a mistake, it's ok! With weaving, you can always unpick it, and start again.