
Why You Should Try Weaving On A Floor Loom

My 1976 Harris floor loom in my East London studio
The world of weaving can be a bewildering one for beginners. There’s so many techniques to learn, such an expansive history across different cultures, and a huge wide variety of tools and materials to use. And one of the most intimidating and confusing areas is how to use a floor loom.
That was definitely the case for me when I first began weaving tapestries and rugs all the way back in 2014. In fact, floor looms looked so complicated and difficult to use that I swore I would never get one! I wove everything on frame looms that I built myself, and planned to keep it that way.
Cut to 8 years later… and I have six floor looms in my studio that I use on a regular basis. In this blog post I’m going to share a little about my journey with floor looms, what they actually are, and why you should try one for yourself.

4 Shaft Loom Illustration from Tapestry Weaving: An Illustrated Guide
What Is A Floor Loom?
Simply put, a floor loom is a loom that sits on the floor and contains various mechanisms that allow the weaver to create longer, wider and more complex lengths of cloth.
The three main mechanisms of a floor loom are-
The Warp & Cloth Beams - These are two beams that sit at the front and back of the loom. A long length of warp is wound onto the warp beam at the back, and then travels through the loom’s inner mechanisms to attach onto the cloth beam at the front. As you weave, the woven cloth can be wound around the cloth beam and the warp moved forward.
The Shafts & Treadles - The shafts are frames which hang in the middle of the loom and contain the heddles - long threads or wires with an opening in the centre which each warp thread is passed through. The shafts in turn are connected to the treadles, which are long pedals underneath the loom.The weaver can press down on each pedal and raise and lower the shafts, which in turn raises and lowers the individual threads of the warp.
The Beater & Reed - The beater sits at the front of the loom and contains the reed, a metal grill which the warp is threaded through. As you weave, the beater is swung forward and the grill of the reed beats down the weft firmly between each warp. The reed also keeps the warp evenly spaced and helps prevent it from drawing in at the sides.
Floor looms contain many other minor mechanisms, but these are the three main ones. Every floor loom, whether upright or horizontal, will contain some variation of these.
So, now we know what a floor loom actually is, why do I think you should try using one?

Weaving on my 1976 Harris floor loom
Floor Looms Are Faster
Now, this at first sounds counterintuitive. After all, floor looms take a LONG time to set up. When I prepare one of my floor looms to weave on it can take me up to three days! And for weavers who are working with a finer warp and weft it can take even longer, as they are threading many hundreds (sometimes thousands!) of warp threads through the heddles in the shafts.
However, once that part is out of the way, the mechanisms of the floor loom do allow you to weave faster. Using the treadles to raise and lower the warps frees up your hands to weave. You’re no longer threading the weft over and under each warp by hand, your feet do this job for you on the treadles. And instead of pressing down every row of weft laboriously with a bobbin or comb, you can beat it down in one go with the beater.
This in fact was what prompted me to try weaving on a floor loom. The first rug I made on a frame loom was 60cm wide and 100cm long and took me 40 hours to weave- a whopping 2.5cm per hour! The same rug now would take me 20 hours at the absolute most on a floor loom- and would often be even faster.
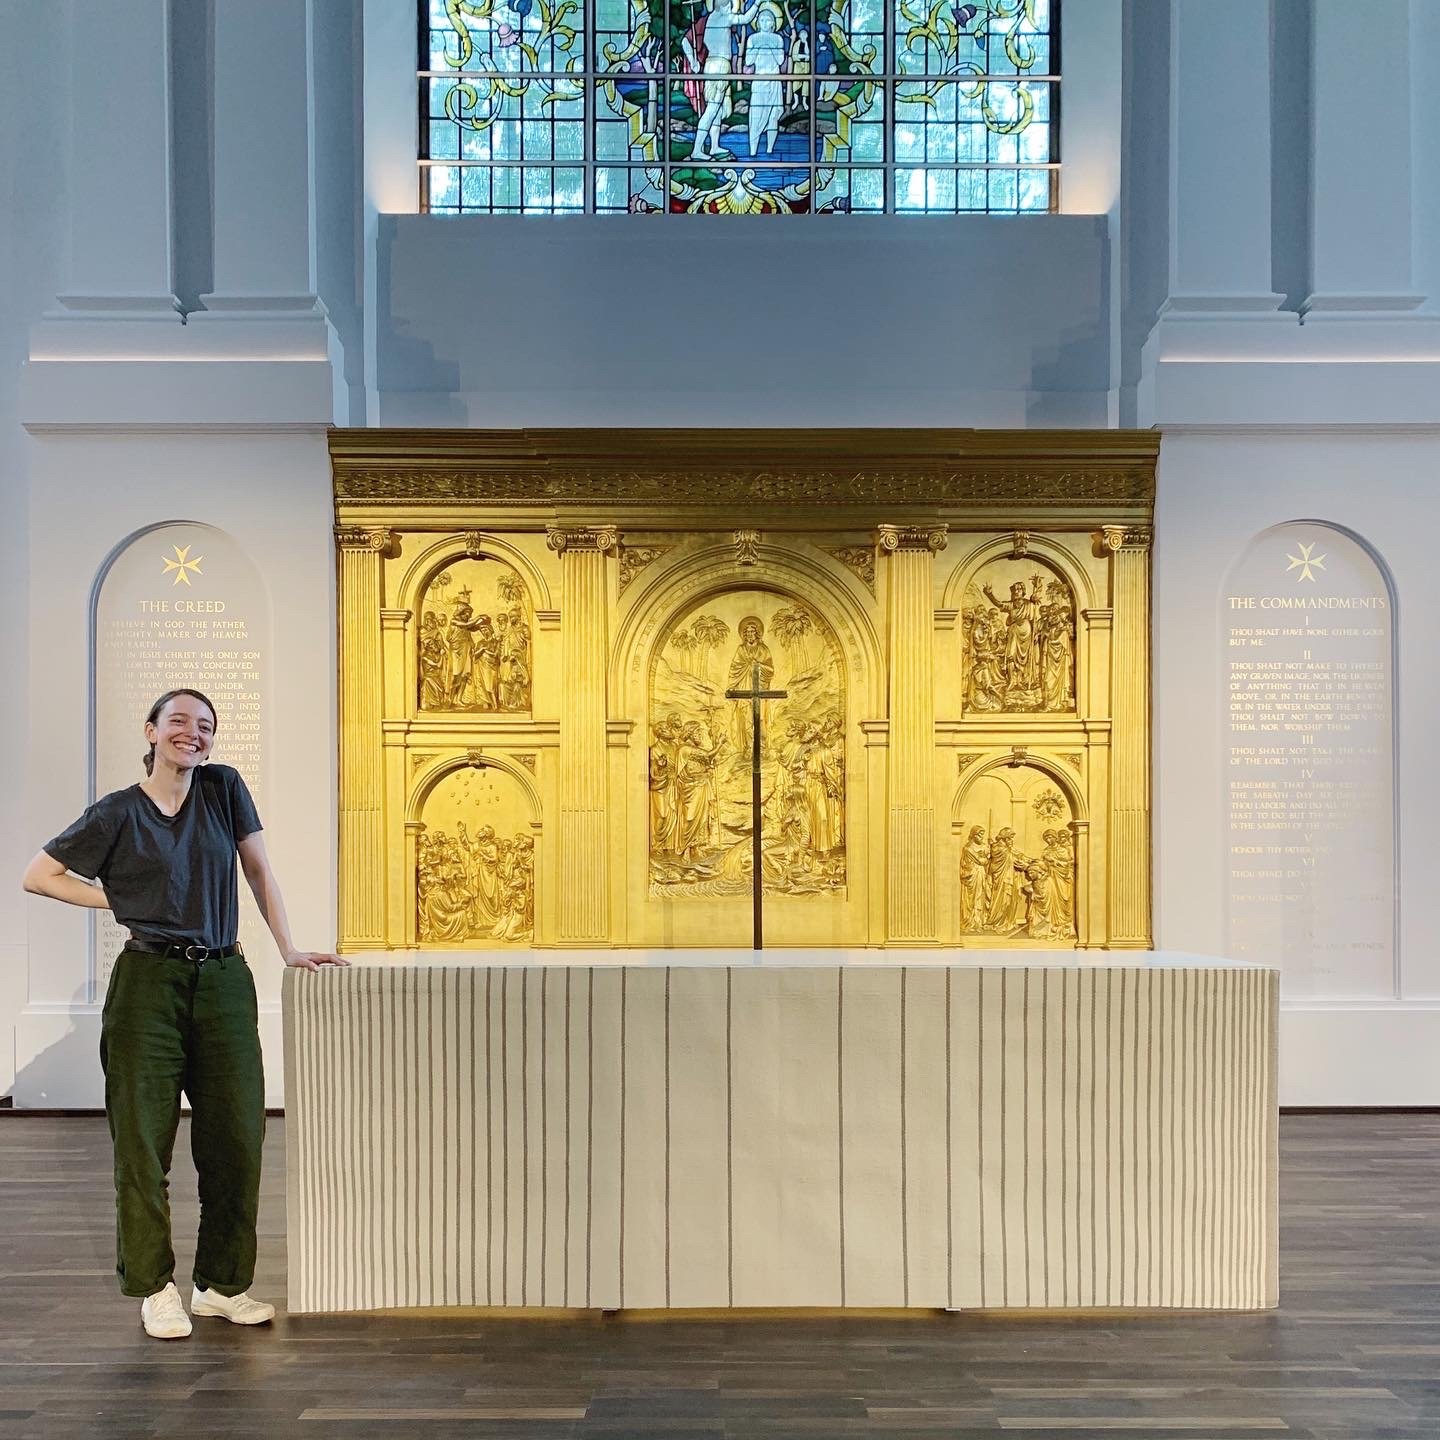
A 2.8m altar cloth for Saint Church woven on my LeClerc floor loom
Floor Looms Can Weave Bigger
As well as being faster, floor looms allow you to weave much bigger.
Now with every loom you are limited by the physical size of the loom itself and floor looms are no different. If your floor loom has a maximum weaving width of 90cm, for example, you will not be able to weave a wider textile than this.
You can, however, wind a much longer length onto the warp beam. The warping board I use, for example, allows me to wind out a warp that is just over 11m long. So while it might take 3 days to set up the loom, I’ll have enough warp on it to weave multiple tapestries and rugs one after another, or even just one massive rug. In fact, the longest piece I’ve ever woven was 5.6 metres long!
So if you’re a weaver considering scaling up- try a floor loom.
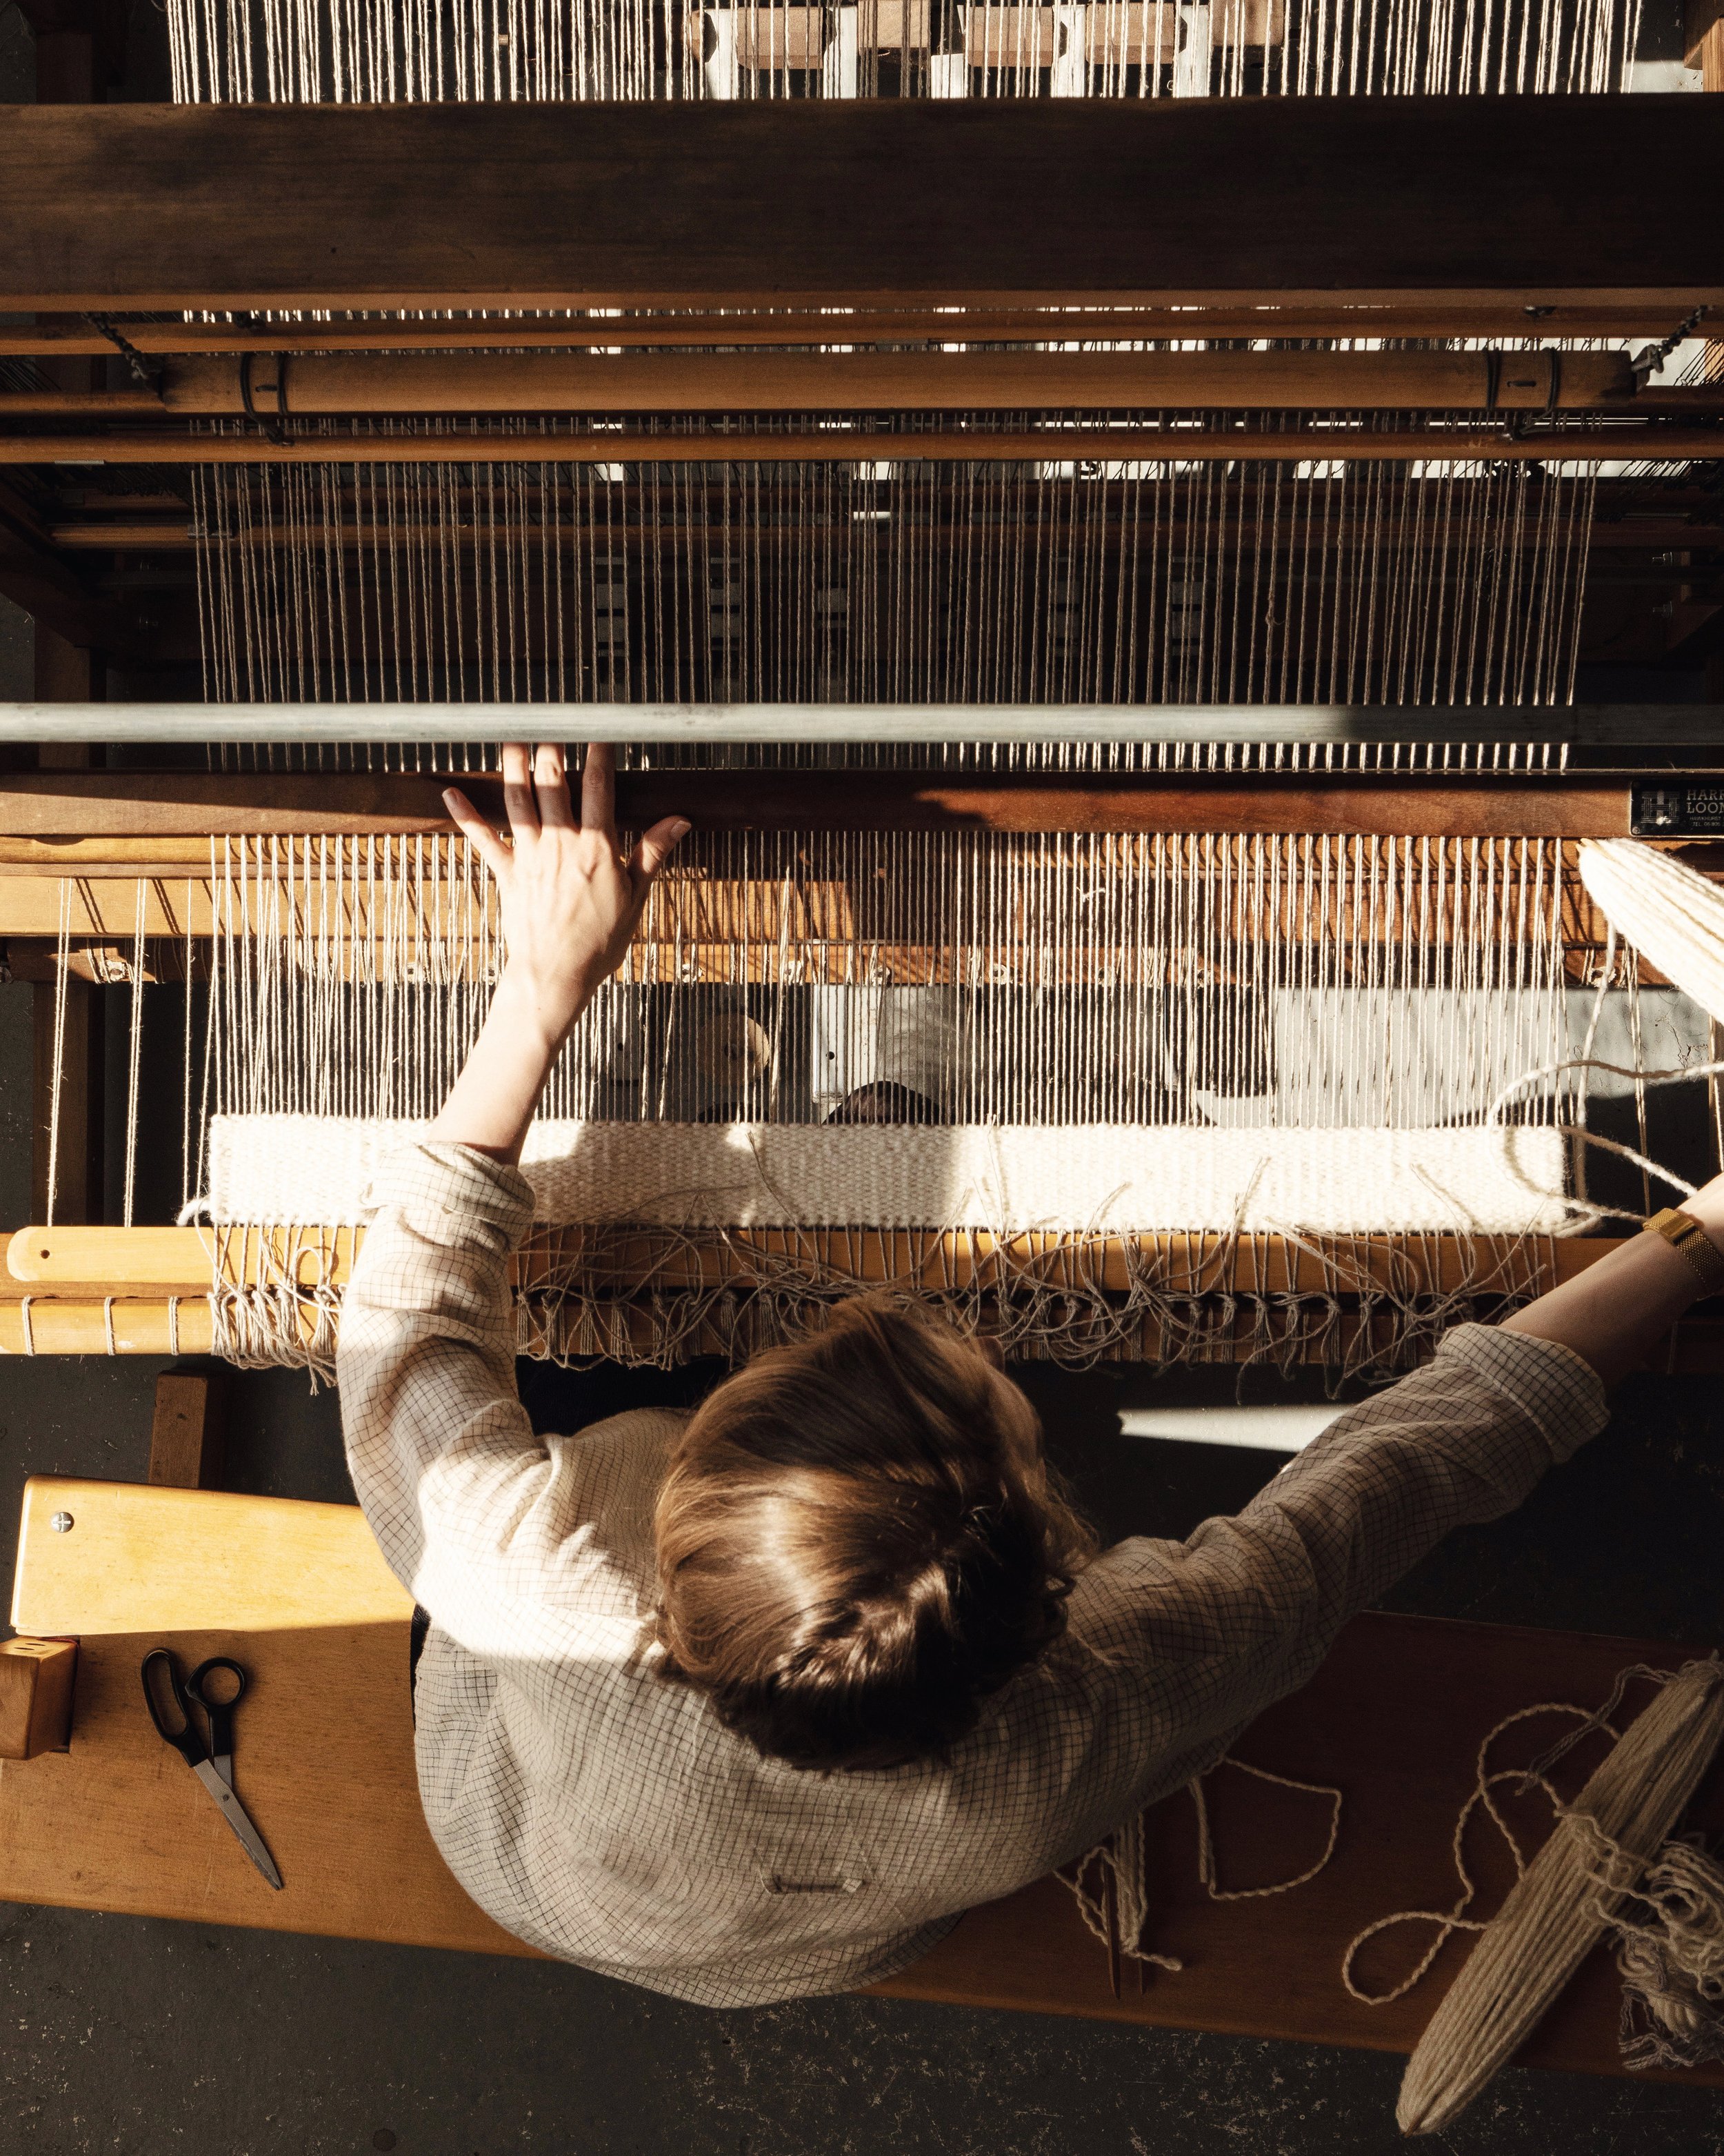
Weaving on my 1976 Harris floor loom
Floor Looms Are Adjustable
Even with the extra speed that a floor loom allows for, weaving still requires a long time spent in the same position and it can be physically quite demanding.
Another great thing about floor looms is that they are much more adjustable than a frame loom, and so they are kinder on your body.
On my looms, I can change which treadles are connected to which shaft to make it easier to press down with each foot. I can increase or decrease the tension of the warp, and bring the top of the weft closer or move it further away. On some of my looms I can even change the position of the front beam, allowing me to adjust the height I’m weaving at, and the position of the beater so I’m not reaching too far or hunching over too much.
If you’re thinking about weaving long term and working on a larger scale, it’s so important to have a loom that is kinder on your body and easier to work on. I recommend trying out a few different floor looms if you can so you can see which one works best for you.

Weaving soumak on my 1976 Harris floor loom
Floor Looms Allow For Complexity
Finally, as well as allowing you to work faster and on a larger scale, floor looms also allow for greater complexity.
I primarily work with discontinuous weft weaving, where each area of the pattern is built up on the loom from different sections of weft. I pass over and under one warp at a time, in a sequence known as tabby or plain weave.
You can easily set up your floor loom to weave plain weave, but you can also weave a huge number of other techniques besides. Twill, overshot, waffle weave and double cloth are just a few of the options open to you on a floor loom. The shafts allow you to thread the warp in different sequences and raise and lower them at different intervals using the treadles. I personally feel that I’ve only just scratched the surface when it comes to weaving patterns, and working on a floor loom really offers a lifetime of exploration and experimentation.

Floor looms in my East London studio
I hope this blog post has given you a clearer understanding of floor looms and how they can benefit you as a weaver. But if, like me all those years ago, you’re feeling nervous at the thought of setting up a loom and starting to weave all by yourself, don’t worry!
Here at Balfour & Co we are offering a new three-part floor loom online class via Zoom. Classes will run every other month and our next one is June 2022. Find out more about them at the link below
Last of all, if you have any questions at all, get in touch with us at info@balfourand.co or leave a comment below. Thanks for reading!